
Ice Melting Wire
PIRA: 4C20.30
Overview:
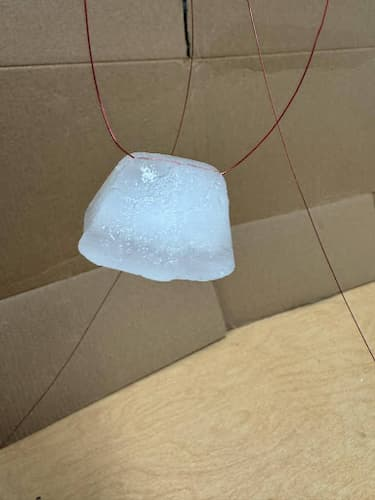
The physics behind melting ice with a wire is a fascinating phenomenon called regelation. When a thin wire with weights attached to each end is placed over a block of ice, the wire exerts a significant amount of pressure on the small area of ice directly beneath it. This increased pressure lowers the melting point of the ice, causing it to melt and turn into water even at a temperature below 0°C. As the wire sinks through the water, the pressure above the wire is released. With the pressure gone, the melting point of the water returns to 0°C. Since the surrounding ice is still at that temperature, the water refreezes, leaving the block of ice intact. The wire effectively "cuts" through the ice without splitting it, melting it from the bottom and allowing it to refreeze above.
Materials:
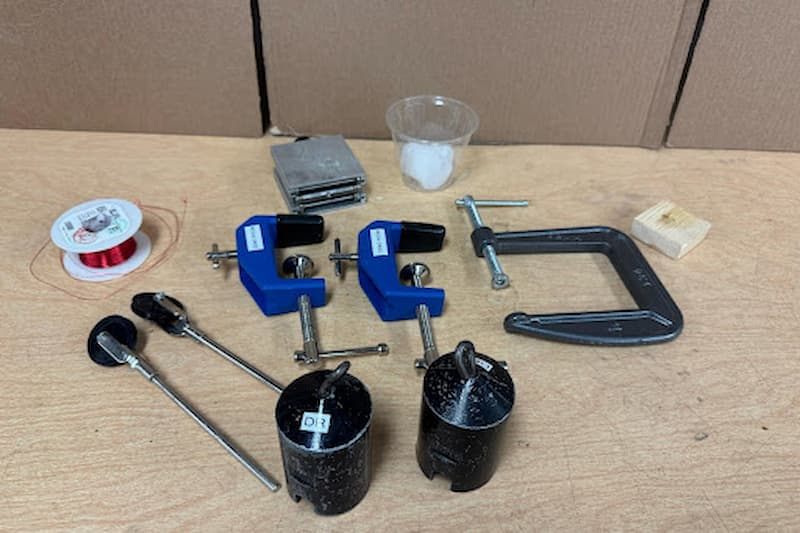
Two table clamps, two pulleys on rods, mini-jack stand, c-clamp, a block of wood, two masses of at least 1 Kg, ice, and a wire that is 24 gage or smaller (the smaller gauge, the better the ice refreezes after the pressure from the wire is not acting of the water).
Setup:
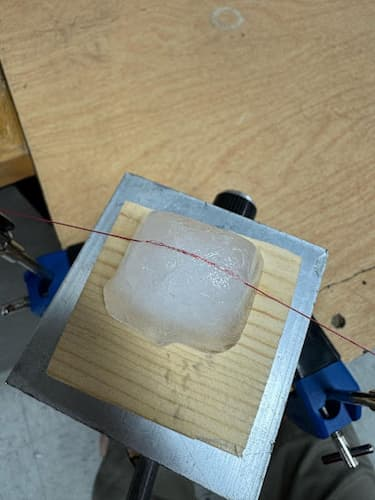
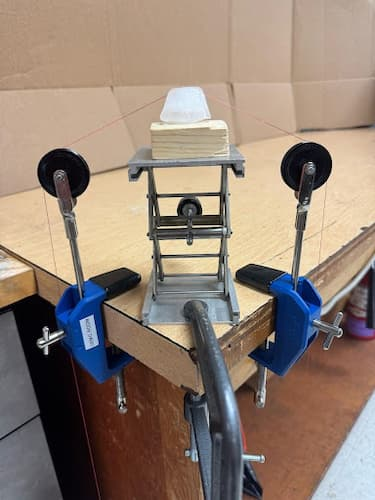
For this demo the set up should be at the corner of a table. Use the table clamps to connect the pulleys to the table. Clamp the mini-jack stand to the demo table using the c-clamp. Place the block of wood on top of the mini-jack stand, and place the ice on the wood block. Tie the masses to both ends of the wire (in the photo 28 gauge wire is used). Place the wire on the top of the ice and over the pulleys letting masses hand apply pressure to the surface of the ice.
How to:
Allow the wire to cut through the ice and refreeze (this takes time). And after the ice has reformed, lift the wire to show that the ice has reformed around it.
Safety:
If too much mass is applied to the wire/string it could break that could cause injury; this is a low risk, but should still be accounted for.